 I really enjoy making cute little things like this. I hope the picture tutorial below will help you make one, too!
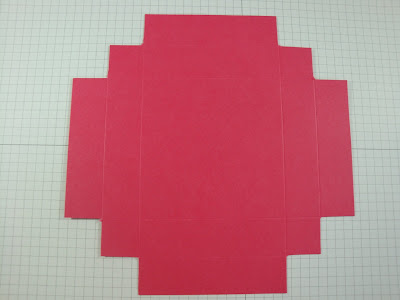
 For the box, start with a piece of card stock measuring 9 X 6. On the 6" side, score it at 1" and 5"; on the 9" side, score it at 4" and 5". Snip the two center score lines up to where they intersect with the other score lines to make flaps, as above. Place your Sticky Strip as shown above.
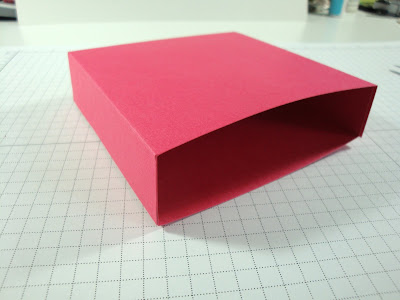
 When you fold your box together, make sure the little flaps get sandwiched between the two longer flaps, as shown above. If the flaps are tucked in between, they won't interfere with the drawer being moved in and out.
 Your box should look like this!
 For the drawer, start with a piece of card stock measuring 7-7/8 X 7-7/8. Score at 1" and 2" on all four sides. Use your Paper Snips to remove the "L" from each corner (shown above), leaving one inner square that will be used as a flap.
 The above is what your drawer should look like when you've removed an "L" from each corner.
 Snip one side of each flap, apply your Sticky Strip as shown above, and fold the card stock over the flaps and adhere.
 The above is what your drawer should look like.
 Slide your drawer into your box, as shown above.
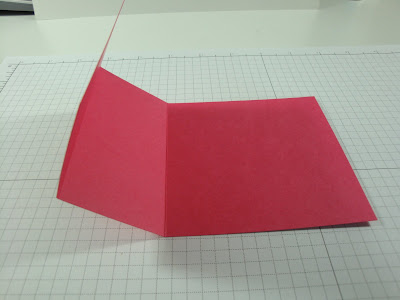
 For the easel, start with a piece of card stock measuring 8 X 4. Score it at 2" and 4".
 Place Sticky Strip on two long sides of your box and one piece in the middle, as shown above.
 Place your easel piece on top of the box and adhere. It should look like the picture above. Fold the card stock so that it will come forward and down on top of the box. You will then attach your 4 X 4 piece of card stock that you've embellished for the top of your box to the piece coming down! Once you've adhered your calendar down, it will keep the easel piece in place.
* * * * *
Truth be known, it's little projects like THIS that keep me wanting to stamp and create. Although I love card-making - I find that energizing as well - it's the 3D items that make me so happy! I find it so inspiring to be able to create little boxes and packaging with my own clumsy hands and in my own home! I cased this desktop easel (some people call it a drawer easel) from Stampin' Connection and I'm hoping the picture tutorial above will help you make one on your own. It looks intimidating, but TRUST ME, if I can make it, SO CAN YOU! It takes everything but the kitchen sink to make, but it's well worth the effort! The recipe is below. All supplies used and shown are from Stampin' Up!, with the exception of the 2010 calendar.
Recipe:
Paper:
For the Box: Melon Mambo - 9 X 6. On the 6" side, score at 1" and 5". On the 9" side, score at 4" and 5".
For the Drawer: Melon Mambo - 7-7/8 X 7-7/8. Score at 1" and 2" on all four sides.
For the Easel Top: Melon Mambo - 8 X 4. Score at 2" and 4".
Everything Else: Melon Mambo - 4 X 4; Rich Razzleberry - 3-3/4 X 3-3/4; Razzleberry Lemonade Designer Series Paper - 3-1/2 X 3-1/2; Whisper White - 2-1/2 X 2-1/4; Rich Razzleberry - 2-5/8 X 2-3/8; Razzleberry Lemonade Designer Series Paper - 3-1/2 X 5/8"; Rich Razzleberry - 3-5/8 X 3/4"; Melon Mambo scrap; Whisper White scrap
Stamps: Razzle Dazzle (P. 94 of the catalog)
Inks: Crushed Curry Marker; Melon Mambo Marker; Rich Razzleberry Marker
Miscellaneous: Paper Snips; Sticky Strip; Bone Folder; SNAIL Adhesive; Stampin' Dimensionals; Stamp-a-ma-jig; Scallop Oval Punch; Large Oval Punch; 1/2" Circle Punch; Naturals Brad (white); Paper Piercer with Mat; 2010 Calendar (which I purchased from http://www.stamponthis.com/)
No comments:
Post a Comment